
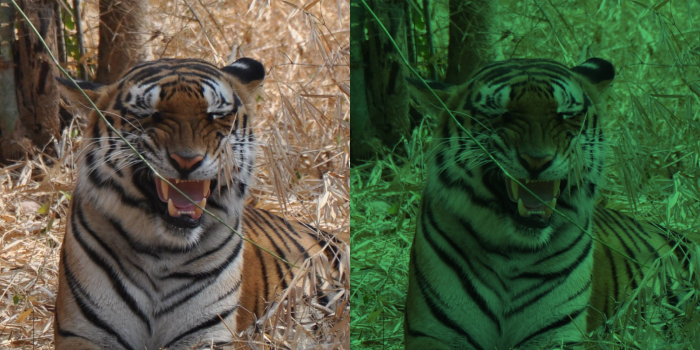
//    PATH         X  Y  W    H
image("tiger.png", 0, 0, 350, 350);
tint("#50C878");
//    PATH         X    Y  W    H
image("tiger.png", 350, 0, 350, 350);
saveAs("emerald-tinted-tiger.png");Tinted Images - Chitra
Jul 12, 2026
1 minute read.
d
dlang
chitra
lua
Tinting is the process of blending a color into every pixel of an image. The result shifts the image toward that colour while preserving its original light and shadow structure (Wiki).
Chitra provides an easy way to add tint to images. Following example shows adding Emerald (#50C878) colored tint.
A few most used tint colors (no tint for the first one): #D4AF37 #E6C280 #FF7F50 #4A90E2 #50C878 #4a90a4 #c13584
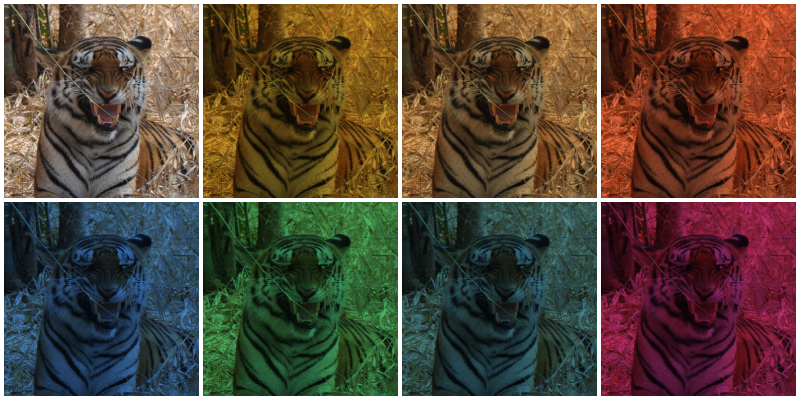
Source code
import chitra;

void main()
{
    auto ctx = new Chitra(800, 400);

    auto colors = ["", "#D4AF37", "#E6C280", "#FF7F50", "#4A90E2", "#50C878", "#4a90a4", "#c13584"];

    with (ctx)
    {
        grid(4, 2, gap: 4);
        auto imgPath = "tiger.png";

        foreach(i; 0 .. 8)
        {
            auto box = gridCell(i+1);
            if (colors[i] != "")
                tint(colors[i]);

            image(imgPath, box.x, box.y, box.width, box.height, fit: COVER);
        }

        saveAs("tinted.png", resolution: 72);
    }
}
Source code (Using Chitra Lua plugin)
size(800, 400)

grid(4, 2, {gap=4})

local img_path = "tiger.png"

local colors = {"", "#D4AF37", "#E6C280", "#FF7F50", "#4A90E2", "#50C878", "#4a90a4", "#c13584"}
for i = 1, 8 do
   local box = grid_cell(i)
   if colors[i] ~= "" then
      tint(colors[i])
   end
   image(img_path, box.x, box.y, box.width, box.height, {fit= COVER})
end

save("tinted.png", {resolution=72})
About Aravinda VK
Partner at Kadalu Investments, Creator of Sanka, Creator of Chitra, GlusterFS core team member, Maintainer of Kadalu Storage